OIDC / OAuth 2.0 Setup
OIDC is the quickest way to add sign-in. You register AuthSec as an application in the provider's console, and the provider hands back two values — a Client ID and a Client Secret — that let AuthSec ask it "who is this person?"
Endpoints and scopes come from the built-in template, so there are no URLs to look up.
The round trip
Setup moves between two consoles. Neither side can finish alone: AuthSec gives you a URL the provider needs, and the provider gives you credentials AuthSec needs.
Keep both consoles open in separate tabs — you will switch between them twice.
1. Start the wizard
On Identity Providers, click + Add provider and choose OIDC / OAuth 2.0.
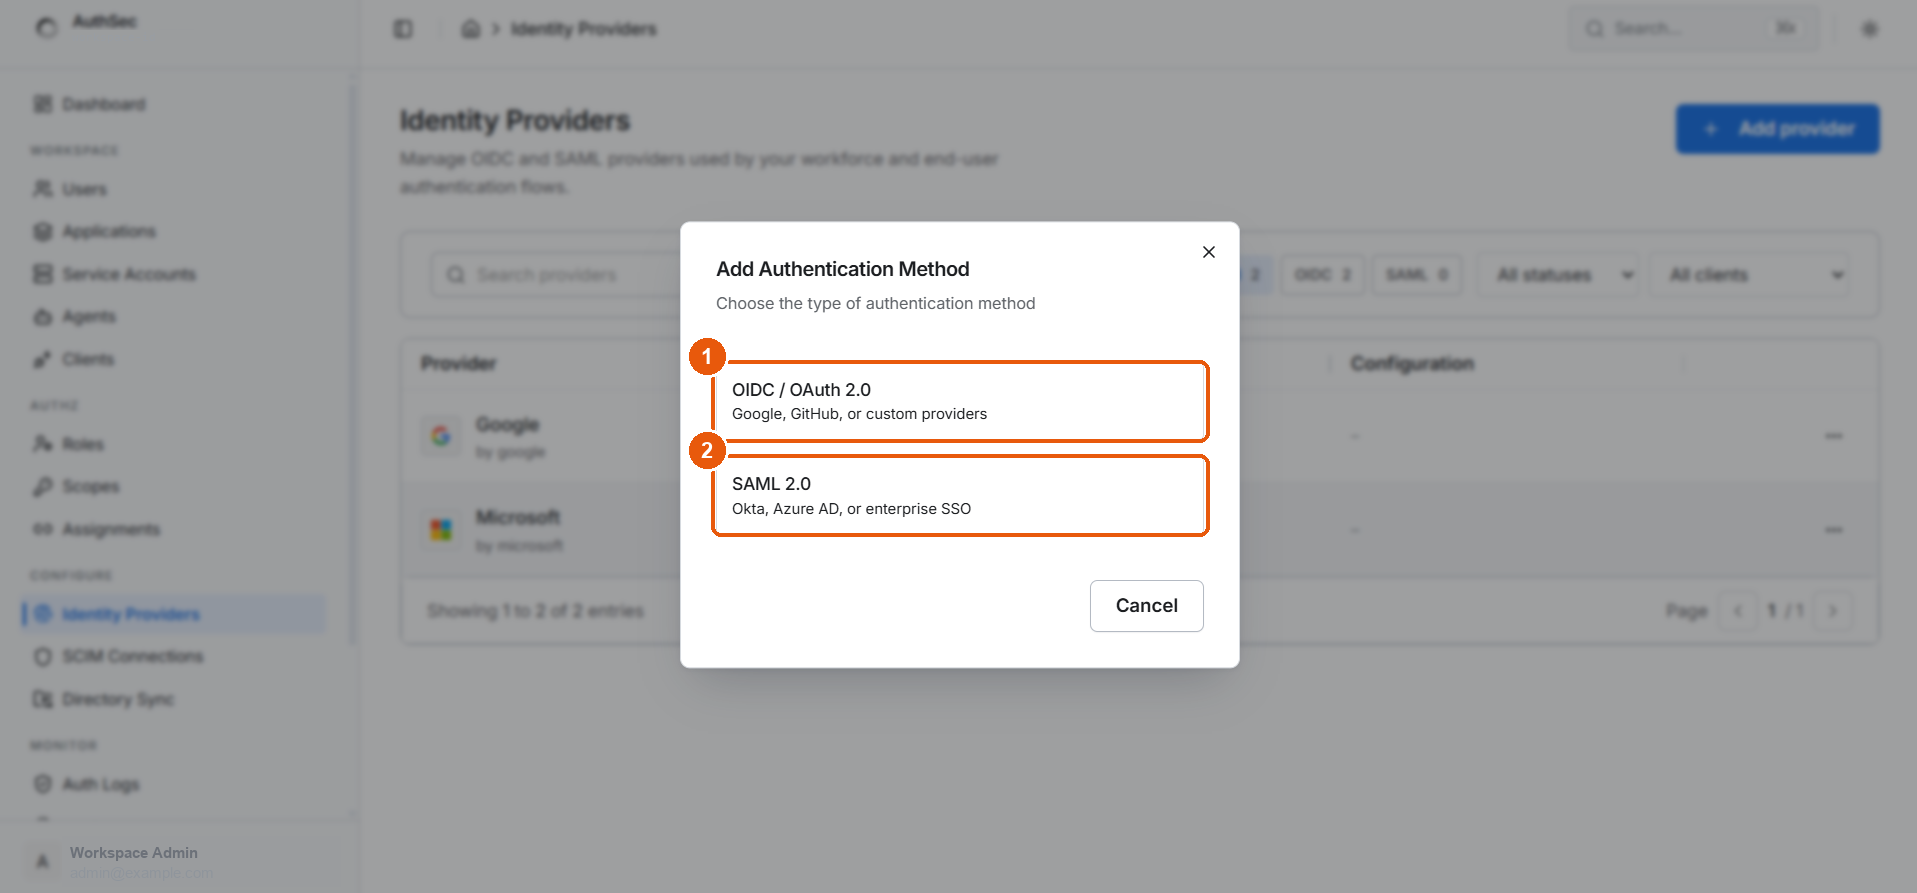
① OIDC / OAuth 2.0 — this guide · ② SAML 2.0
2. Pick a template
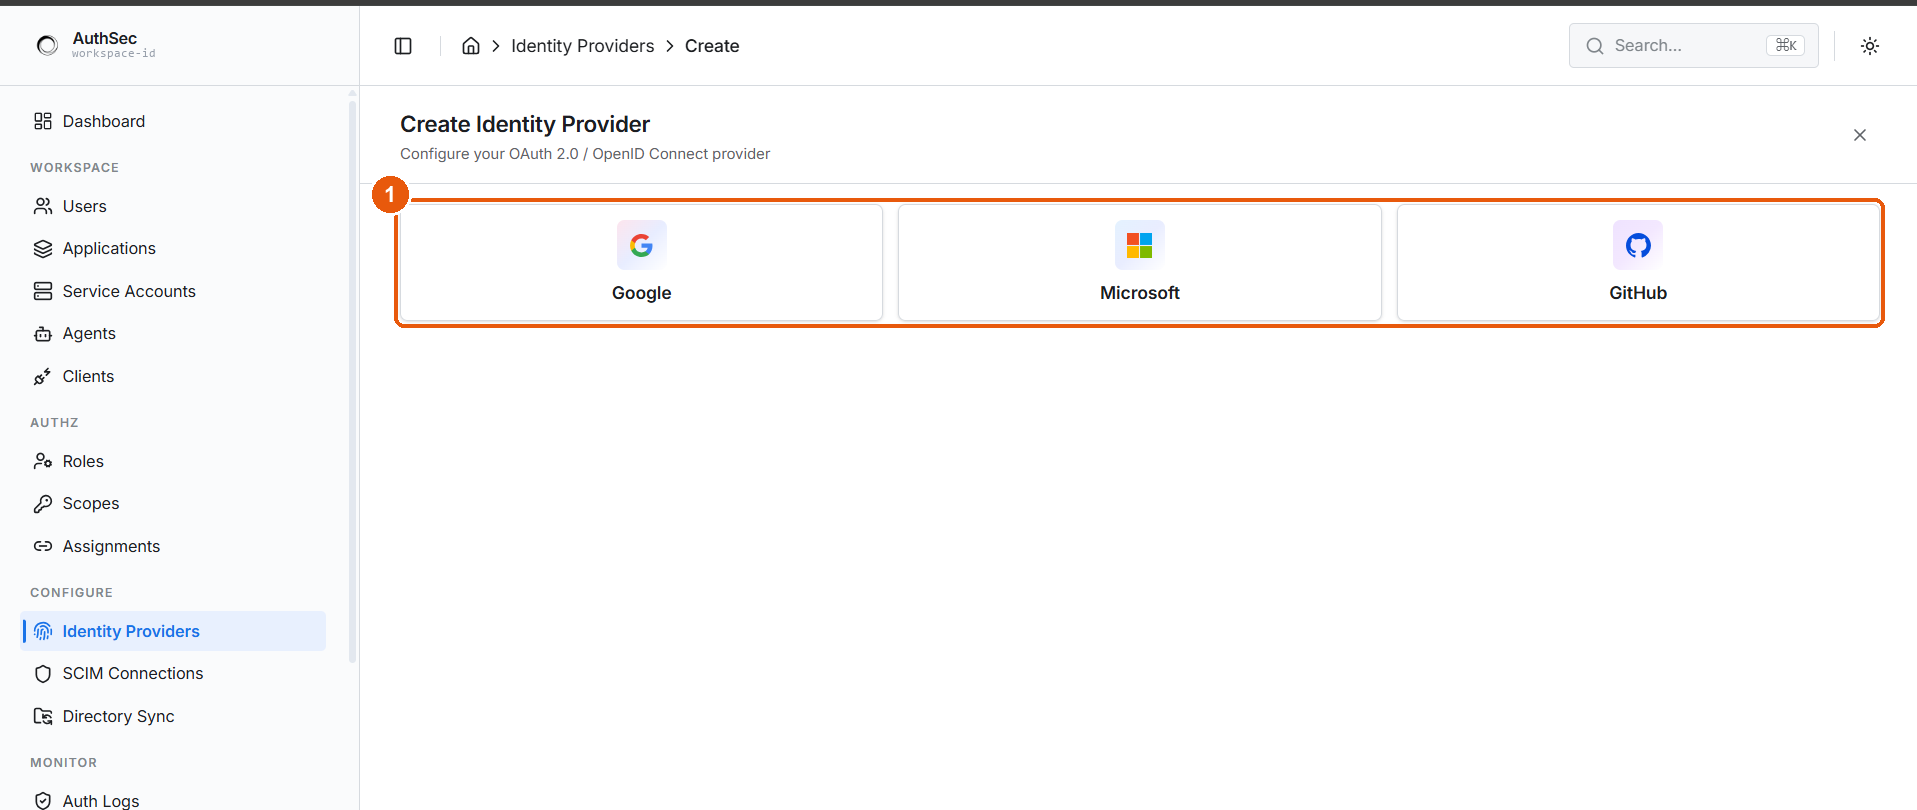
① Pick the template that matches your provider
| Template | Covers | Extra field |
|---|---|---|
| Google OAuth 2.0 / OpenID Connect | — | |
| Microsoft | Azure AD / Microsoft Entra ID | Tenant ID or domain |
| GitHub | GitHub OAuth Apps | — |
The template only decides endpoints and scopes. Everything after this point is the same shape for all three, so follow the page for your provider and come back here for the review step.
3. The Callback URL
This is the single most common thing to get wrong.
https://<your-tenant>.app.authsec.ai/authsec/uflow/oidc/callback
Use the Copy button in the wizard — don't retype it. A trailing slash, http instead of https, or a different subdomain all count as a different URL, and the provider will refuse the login with a redirect-URI error.
The provider calls it different things — Google says Authorized redirect URIs, Microsoft says Redirect URI, GitHub says Authorization callback URL. They all mean this value.
4. Fill in the fields
| Field | Notes |
|---|---|
| Display Name | The label users see on the login button — "Google", "Sign in with Okta" |
| Client ID | Public identifier from the provider console |
| Client Secret | Stored in Vault, never persisted to the database |
5. Review and finish
Click Next, check the summary, then Finish. The provider appears in the table as Active and shows on the login screen immediately.
Deactivate it from Manage providers if you want to set it up now and switch it on later.
Set up your provider
If sign-in fails
| Symptom | Usual cause |
|---|---|
redirect_uri_mismatch | Callback URL differs from the one registered at the provider |
invalid_client | Wrong Client ID, or a secret that was regenerated or expired |
| Login loops back to the sign-in page | Provider returned no email claim — check the scopes granted to the app |
| Provider missing from the login screen | Provider is Inactive — toggle it in the providers table |