Onboard Client
You can onboard a new client to represent an MCP server or an AI agent.
Steps to Onboard a Client
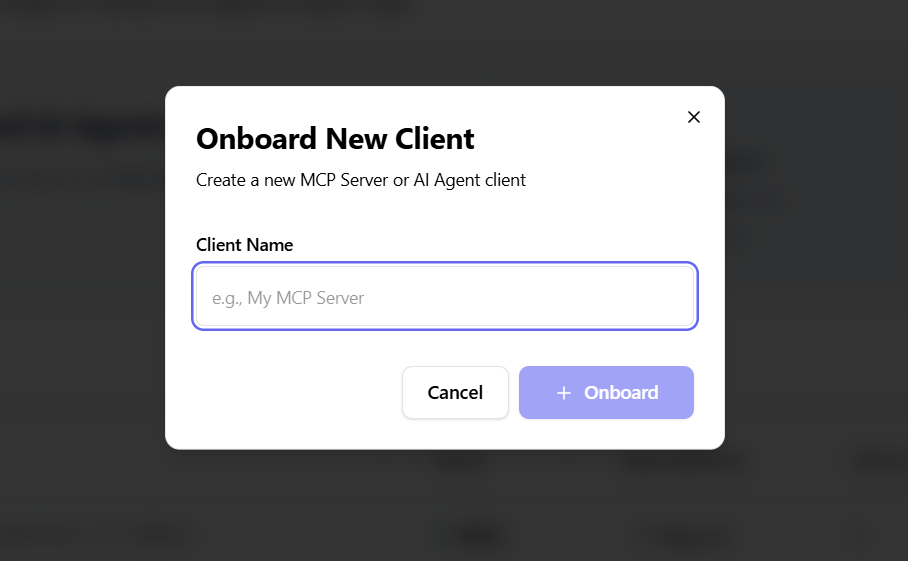
- Click the "Onboard Client" button
- Enter a unique client name (for example,
My MCP Server) - Click Onboard
A new client is created and appears in the clients list with a unique Client ID.
What Happens After Onboarding
When you onboard a client that represents an AI agent, AuthSec automatically:
- Populates the Autonomous Workloads page — A corresponding workload entry is created under Autonomous Workloads, linking the client identity to the M2M authentication system.
- Prompts you to set up a SPIRE agent — The dashboard guides you through deploying a SPIRE agent so your AI workload can receive a cryptographic identity (SVID).
- Provides SDK integration instructions — You'll be directed to integrate the AuthSec SDK into your workload for identity bootstrapping and mTLS communication.
tip
After onboarding an AI agent client, navigate to Autonomous Workloads to continue setup. The workload entry is pre-configured with the client details you provided.
End-to-End Flow
Register Client → Workload Created → Deploy SPIRE Agent → Integrate SDK → Configure Trust Delegation → Agent Gets Delegated Token
See Trust Delegation to learn how AI agents receive scoped tokens with only the permissions bound to their assigned roles.
Client List and Details
Each client entry displays:
- Client name
- Client ID
- Status (Active or Inactive)
- Enabled authentication methods
- Total number of users
- Action menu
Filters and search allow you to find clients by name or endpoint and filter by access level.